


Cleaning a motorbike front brake master cylinder is a crucial maintenance task that ensures optimal braking performance and safety on the road. As a reputable supplier of Motorbike Front Brake Master Cylinders, I understand the importance of proper maintenance and cleaning procedures. In this blog post, I will guide you through the step-by-step process of cleaning a motorbike front brake master cylinder, providing you with valuable insights and tips along the way.
Why Clean Your Motorbike Front Brake Master Cylinder?
The front brake master cylinder is a vital component of your motorbike's braking system. It is responsible for converting the force applied to the brake lever into hydraulic pressure, which is then transmitted to the brake calipers to slow down or stop the motorcycle. Over time, dirt, debris, and moisture can accumulate inside the master cylinder, leading to reduced braking performance, spongy brakes, or even complete brake failure. Regular cleaning of the front brake master cylinder helps to remove these contaminants, ensuring smooth and reliable braking operation.
Tools and Materials You Will Need
Before you begin cleaning your motorbike front brake master cylinder, gather the following tools and materials:
- Safety glasses and gloves
- Brake fluid (compatible with your motorcycle's specifications)
- A clean container for draining the old brake fluid
- A brake bleeder kit
- A clean cloth or paper towels
- A small brush (such as a toothbrush)
- Compressed air (optional)
- A torque wrench (if necessary)
Step 1: Preparation
- Park your motorcycle on a level surface and engage the parking brake. This will prevent the motorcycle from rolling during the cleaning process.
- Remove the seat and any other components that may obstruct access to the front brake master cylinder. Refer to your motorcycle's service manual for specific instructions on how to remove these components.
- Put on your safety glasses and gloves to protect yourself from brake fluid, which can be harmful if it comes into contact with your skin or eyes.
Step 2: Drain the Old Brake Fluid
- Locate the brake fluid reservoir on top of the front brake master cylinder. The reservoir is usually made of plastic and has a cap with a vent hole.
- Use a clean cloth or paper towels to wipe the area around the reservoir cap to prevent dirt and debris from falling into the reservoir when you remove the cap.
- Remove the reservoir cap and use a turkey baster or a syringe to carefully remove as much old brake fluid as possible from the reservoir. Transfer the old brake fluid to a clean container for proper disposal.
- Loosen the brake bleeder screw on the front brake caliper using a brake bleeder kit. Place the end of the bleeder tube into the container for draining the old brake fluid.
- Slowly pump the brake lever several times to force the old brake fluid out of the system. Keep pumping the brake lever until the fluid flowing out of the bleeder tube is clear and free of bubbles.
- Tighten the brake bleeder screw once the old brake fluid has been drained from the system.
Step 3: Remove the Front Brake Master Cylinder
- Locate the mounting bolts that secure the front brake master cylinder to the handlebar. Use a socket wrench or a torque wrench to loosen and remove these bolts.
- Carefully disconnect the brake line from the front brake master cylinder. Be prepared for some brake fluid to spill out when you disconnect the brake line. Use a clean cloth or paper towels to wipe up any spilled brake fluid.
- Remove the front brake master cylinder from the handlebar and place it on a clean work surface.
Step 4: Disassemble the Front Brake Master Cylinder
- Use a small screwdriver or a pry tool to carefully remove the retaining clip or circlip that holds the piston in place inside the front brake master cylinder.
- Gently push the piston out of the master cylinder bore using a wooden dowel or a similar tool. Be careful not to damage the piston or the master cylinder bore.
- Remove the rubber seals and O-rings from the piston and the master cylinder bore. These seals and O-rings are prone to wear and tear and should be replaced with new ones during the cleaning process.
- Inspect the piston and the master cylinder bore for any signs of damage, such as scratches, grooves, or corrosion. If the piston or the master cylinder bore is damaged, it may need to be replaced.
Step 5: Clean the Front Brake Master Cylinder
- Use a small brush (such as a toothbrush) to gently clean the inside of the master cylinder bore, the piston, and the other components of the front brake master cylinder. Pay special attention to the areas where dirt and debris may have accumulated.
- Rinse the components of the front brake master cylinder with clean brake fluid to remove any remaining dirt and debris. Make sure to rinse the components thoroughly to ensure that all contaminants are removed.
- If available, use compressed air to blow dry the components of the front brake master cylinder. This will help to remove any remaining moisture and ensure that the components are completely dry before reassembly.
Step 6: Reassemble the Front Brake Master Cylinder
- Apply a thin layer of fresh brake fluid to the new rubber seals and O-rings. This will help to lubricate the seals and O-rings and prevent them from drying out or cracking.
- Carefully install the new rubber seals and O-rings on the piston and the master cylinder bore. Make sure that the seals and O-rings are properly seated and aligned.
- Insert the piston back into the master cylinder bore. Make sure that the piston is inserted smoothly and that it moves freely inside the bore.
- Install the retaining clip or circlip to hold the piston in place inside the front brake master cylinder.
Step 7: Install the Front Brake Master Cylinder
- Connect the brake line to the front brake master cylinder. Make sure that the brake line is properly seated and tightened to prevent any leaks.
- Position the front brake master cylinder on the handlebar and align the mounting holes. Insert the mounting bolts and tighten them to the specified torque using a torque wrench.
- Refill the brake fluid reservoir with fresh brake fluid. Make sure to use the correct type of brake fluid that is compatible with your motorcycle's specifications.
- Bleed the front brake system again to remove any air bubbles that may have entered the system during the cleaning process. Follow the same procedure as described in Step 2 to bleed the front brake system.
Step 8: Final Checks
- Check the brake fluid level in the reservoir and add more brake fluid if necessary. Make sure that the brake fluid level is between the minimum and maximum marks on the reservoir.
- Pump the brake lever several times to check for proper brake operation. The brake lever should feel firm and responsive, and the brakes should engage smoothly.
- Inspect the brake lines and connections for any signs of leaks. If you notice any leaks, tighten the connections or replace the damaged components as necessary.
- Reinstall the seat and any other components that you removed earlier to access the front brake master cylinder.
Tips and Precautions
- Brake fluid is hygroscopic, which means it absorbs moisture from the air over time. It is recommended to replace the brake fluid in your motorcycle's braking system every two years or as specified in your motorcycle's service manual.
- When working with brake fluid, make sure to use a clean container and tools to prevent contamination. Brake fluid can be easily contaminated by dirt, debris, and moisture, which can affect its performance and cause damage to the braking system.
- Dispose of the old brake fluid properly. Brake fluid is considered a hazardous waste and should not be poured down the drain or thrown in the trash. Contact your local waste management facility for information on how to dispose of brake fluid safely.
- If you are not comfortable performing the cleaning and maintenance of your motorbike front brake master cylinder yourself, it is recommended to take your motorcycle to a qualified motorcycle mechanic for professional service.
Conclusion
Cleaning your motorbike front brake master cylinder is a relatively simple maintenance task that can help to ensure optimal braking performance and safety on the road. By following the steps outlined in this blog post and taking the necessary precautions, you can keep your motorcycle's braking system in top condition and enjoy a smooth and reliable ride.

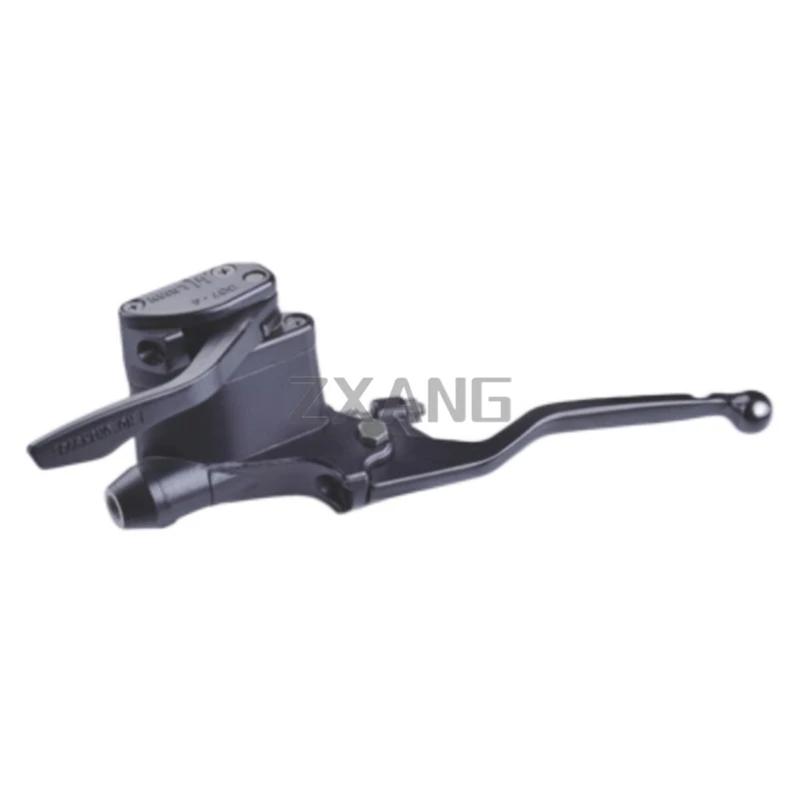
As a supplier of high-quality Motorbike Front Brake Master Cylinders, we offer a wide range of products to meet the needs of different motorcycle models and applications. If you are in the market for a new front brake master cylinder or other braking system components, visit our website at Motorcycle Master Cylinder to explore our product offerings. We also offer the Motorcycle Master Cylinder ZX-1050 and Motorcycle Clutch Master Cylinder for specific requirements.
If you have any questions or need further assistance, please feel free to contact us. We are here to help you find the right products for your motorcycle and provide you with the best customer service possible.
References
- Motorcycle service manual
- Brake fluid manufacturer's instructions


