


Breaking in a new dirt bike brake master cylinder is a crucial process that can significantly impact the performance and longevity of your braking system. As a reputable supplier of Dirt Bike Brake Master Cylinders, I've witnessed firsthand the importance of proper break-in procedures. In this blog, I'll share the best way to break in a new dirt bike brake master cylinder, ensuring optimal performance and safety on the trails.
Understanding the Brake Master Cylinder
Before delving into the break-in process, it's essential to understand the role of the brake master cylinder in your dirt bike's braking system. The master cylinder is responsible for converting the force applied to the brake lever or pedal into hydraulic pressure, which is then transmitted to the brake calipers to engage the brakes. A new master cylinder may have internal components that need to settle and wear in properly to function at their best.
Preparing for the Break-In
- Inspect the Master Cylinder: Before installation, carefully inspect the new master cylinder for any signs of damage or defects. Check the seals, pistons, and reservoir for leaks or debris. If you notice any issues, contact your supplier immediately for a replacement.
- Clean the Brake System: It's crucial to clean the entire brake system before installing the new master cylinder. Flush the brake lines with fresh brake fluid to remove any old fluid, dirt, or air bubbles. This will help prevent contamination and ensure smooth operation of the braking system.
- Install the Master Cylinder: Follow the manufacturer's instructions carefully when installing the new master cylinder. Make sure all connections are tight and secure, and that the brake lines are properly routed and supported. Bleed the brake system to remove any air bubbles and ensure proper hydraulic pressure.
The Break-In Process
- Initial Bedding-In: Once the master cylinder is installed and the brake system is bled, it's time to start the break-in process. Begin by performing a series of gentle stops at low speeds. Apply the brakes gradually and evenly, allowing the pads to make contact with the rotors. Repeat this process several times to help the pads and rotors bed in properly.
- Gradual Increase in Speed and Pressure: As the pads and rotors begin to bed in, gradually increase the speed and braking pressure. Perform a series of moderate stops at higher speeds, but avoid sudden or aggressive braking. This will help the master cylinder and other components of the braking system adjust to the increased stress and pressure.
- Avoid Overheating: During the break-in process, it's important to avoid overheating the brakes. Overheating can cause the brake pads to glaze over, reducing their effectiveness and increasing the risk of brake fade. If you notice the brakes starting to feel hot or spongy, pull over and allow them to cool down before continuing.
- Monitor the Brakes: Throughout the break-in process, monitor the performance of the brakes closely. Pay attention to any changes in braking feel, such as a soft or spongy pedal, or a decrease in braking power. If you notice any issues, stop riding immediately and have the brakes inspected by a qualified mechanic.
Post-Break-In Maintenance
- Inspect the Brakes: After the break-in period is complete, inspect the brakes again for any signs of wear or damage. Check the brake pads, rotors, and calipers for excessive wear, and replace any components as needed.
- Flush the Brake Fluid: It's a good idea to flush the brake fluid again after the break-in period to remove any contaminants or debris that may have accumulated in the system. This will help ensure the continued performance and reliability of the braking system.
- Follow the Manufacturer's Recommendations: Finally, make sure to follow the manufacturer's recommendations for maintenance and servicing of your dirt bike's braking system. This may include regular brake fluid changes, pad and rotor replacements, and inspections of the master cylinder and other components.
Conclusion
Breaking in a new dirt bike brake master cylinder is a critical process that can significantly impact the performance and safety of your braking system. By following the steps outlined in this blog, you can ensure that your new master cylinder is properly broken in and that your brakes are functioning at their best. Remember to always follow the manufacturer's instructions and recommendations, and to have your brakes inspected regularly by a qualified mechanic.

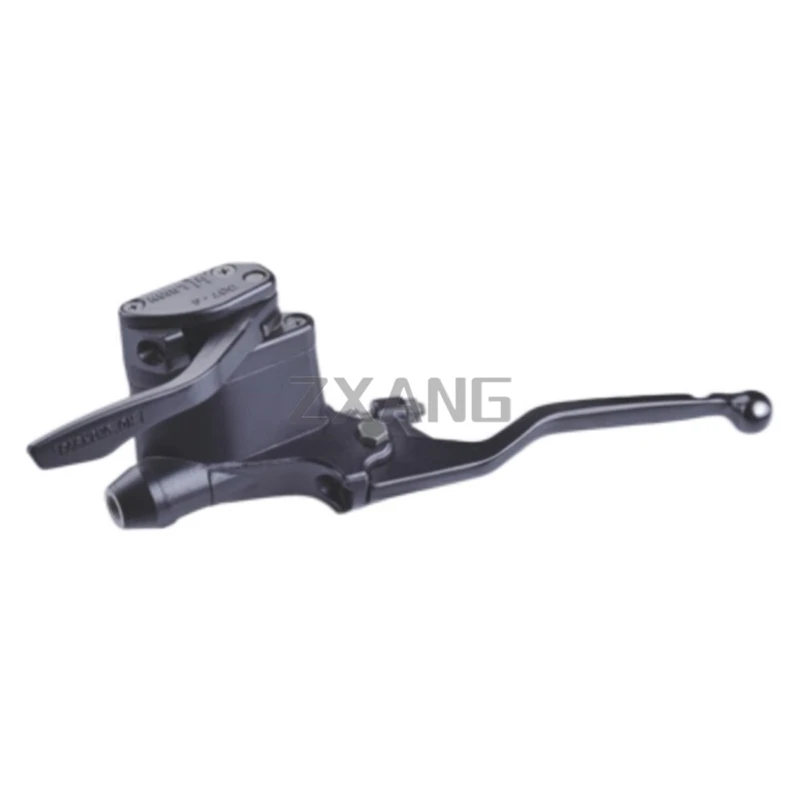
If you're in the market for a high-quality Dirt Bike Brake Master Cylinder, look no further. As a leading supplier of Motorcycle Master Cylinder, Motorcycle Clutch Slave Cylinder, and Motorcycle Brake Lever Master Cylinder, we offer a wide range of products to meet your needs. Our master cylinders are made from high-quality materials and are designed to provide reliable performance and long-lasting durability.
If you have any questions or would like to discuss your specific requirements, please don't hesitate to contact us. Our team of experts is always available to assist you and provide you with the information and support you need. We look forward to hearing from you and helping you find the perfect brake master cylinder for your dirt bike.
References
- Motorcycle Brake System Maintenance Guide, Manufacturer's Manual
- Dirt Bike Braking System Basics, Online Resource
- Brake Pad and Rotor Bedding-In Procedures, Industry Standard


