Adjusting the front brake master cylinder is a crucial maintenance task that can significantly enhance the safety and performance of your motorcycle. As a front brake master cylinder supplier, I've witnessed firsthand the importance of proper adjustment and the benefits it brings to riders. In this blog, I'll share some comprehensive insights on how to adjust the front brake master cylinder effectively.
Understanding the Front Brake Master Cylinder
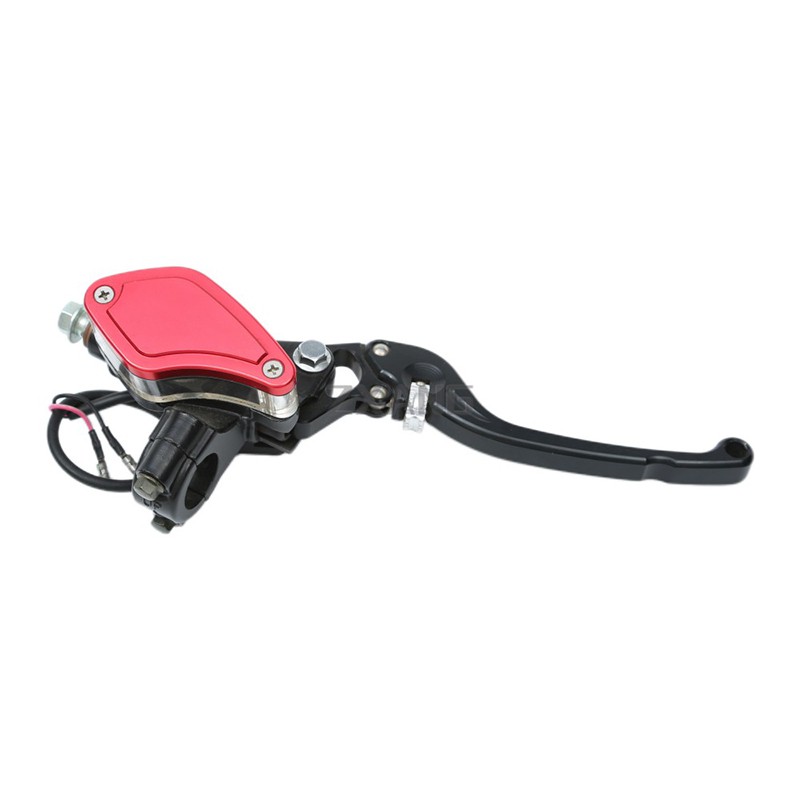
Before delving into the adjustment process, it's essential to understand the function of the front brake master cylinder. The master cylinder is a critical component of the braking system that converts the force applied to the brake lever into hydraulic pressure. This pressure is then transmitted through the brake lines to the calipers, which squeeze the brake pads against the rotors to slow down or stop the motorcycle.
A well - adjusted front brake master cylinder ensures that the brakes respond promptly and consistently. It also helps prevent issues such as brake fade, spongy brakes, and uneven braking.

Tools You'll Need
To adjust the front brake master cylinder, you'll need a few basic tools:
- Wrenches: A set of metric wrenches to loosen and tighten bolts.
- Allen keys: For components that require an Allen key for adjustment.
- Brake fluid: Make sure you have the appropriate type of brake fluid for your motorcycle.
- Brake bleeding kit: This is useful for bleeding the brake system after adjustment.
Step - by - Step Adjustment Process
Step 1: Preparation
- Safety first: Park your motorcycle on a level surface and engage the parking brake. Wear appropriate safety gear, including gloves and eye protection.
- Locate the master cylinder: The front brake master cylinder is usually located on the right - hand side of the handlebars. It's a small reservoir connected to the brake lever.
Step 2: Check the Brake Fluid Level
- Remove the reservoir cap. The brake fluid level should be between the "min" and "max" marks on the reservoir. If the level is low, add the appropriate brake fluid. Be careful not to spill the fluid as it can damage the motorcycle's paint.
Step 3: Adjust the Brake Lever Free Play
- The brake lever free play refers to the amount of movement the lever has before it starts to engage the brakes. This is an important adjustment as too much or too little free play can affect braking performance.
- Locate the adjustment screw on the brake lever. It's usually a small screw at the base of the lever where it attaches to the master cylinder.
- Use an Allen key to turn the adjustment screw. Turning the screw clockwise will decrease the free play, while turning it counter - clockwise will increase it.
- Adjust the free play so that there is about 10 - 20 mm of movement before the brakes start to engage. You can measure this with a ruler or by feel.
Step 4: Bleed the Brake System
- Bleeding the brake system is necessary to remove any air bubbles that may have entered the system during the adjustment process. Air bubbles can cause a spongy brake feel and reduce braking efficiency.
- You can refer to the Bleeding Motorcycle Front Brake Master Cylinder ZX - 1010 guide for a detailed procedure on how to bleed the front brake master cylinder.
- Generally, you'll need to open the bleeder valve on the caliper, pump the brake lever, and then close the valve while maintaining pressure on the lever. Repeat this process until all the air bubbles are removed from the brake fluid.
Step 5: Check the Braking Performance
- After adjusting the front brake master cylinder and bleeding the brake system, test the brakes. Squeeze the brake lever gently and feel for a firm and responsive braking action.
- If the brakes still feel spongy or don't engage properly, you may need to repeat the adjustment and bleeding process.
Common Issues and Solutions
Spongy Brakes
- Cause: Air in the brake system, worn brake pads, or a leaking master cylinder.
- Solution: Bleed the brake system as described above. If the problem persists, check the brake pads for wear and replace them if necessary. Inspect the master cylinder for leaks and replace it if needed.
Uneven Braking
- Cause: Uneven brake pad wear, a stuck caliper piston, or an issue with the master cylinder.
- Solution: Check the brake pads and replace them if they are worn unevenly. If the caliper piston is stuck, you may need to clean or replace the caliper. Have the master cylinder inspected for proper operation.
Choosing the Right Front Brake Master Cylinder
As a front brake master cylinder supplier, I understand the importance of choosing the right product for your motorcycle. Our Best Motorcycle Master Cylinder ZX - 1009 is designed to provide reliable and consistent braking performance. It's made from high - quality materials and undergoes rigorous testing to ensure durability and safety.
Another great option is our Brake Cylinder Motorcycle ZX - 1012. This master cylinder is engineered to fit a wide range of motorcycle models and offers excellent braking power.
Contact for Purchase and Consultation
If you're interested in purchasing a front brake master cylinder or need further advice on adjustment and maintenance, we're here to help. Our team of experts can provide you with detailed information and guidance to ensure you make the right choice for your motorcycle. Whether you're a professional mechanic or a DIY enthusiast, we have the products and knowledge to meet your needs. Reach out to us to start a discussion about your requirements and explore the best solutions for your front brake system.
References
- Motorcycle repair manuals from major motorcycle manufacturers.
- Industry - standard guides on motorcycle brake system maintenance.


